

Is this a member area with monthly costs?
No, you buy access to the pouring course once and can use it as often as you like. All at your own pace. It is a separate video area that is password protected.
THE ACRYLIC POURING ONLINE COURSE
Your easy pour painting step by step guide
THE ACRYLIC POURING ONLINE COURSE
Your easy pour painting step by step guide
THE ACRYLIC POURING ONLINE COURSE
Your easy pour painting step by step guide
Hi, my name is Lars, better known as Tiktus.
I’ve been working with liquid acrylic paints since 2018.
On my YouTube channel “Tiktus color art” with over 880,000 followers, I regularly show you exciting techniques and methods related to acrylic pouring.
Over the years, I have regularly received many recurring questions:
What color recipe do I use to mix my colors? What do I use to make the pictures shine so beautifully, what do I have to pay attention to in order to avoid this and that, how do I find the right color combinations, etc.?
This acrylic pouring online course will answer your questions!
I have packed everything I know about fluid painting into individual, compact video lessons.
Unlike on YouTube, I comment on every single step, why I do what and when, so that you can create beautiful pictures yourself.
+ all new content that I add to the pouring course later will be free for you!
Hi, my name is Lars, better known as Tiktus.
I’ve been working with liquid acrylic paints since 2018.
On my YouTube channel “Tiktus color art” with over 880,000 followers, I regularly show you exciting techniques and methods related to acrylic pouring.
Over the years, I have regularly received many recurring questions:
What color recipe do I use to mix my colors? What do I use to make the pictures shine so beautifully, what do I have to pay attention to in order to avoid this and that, how do I find the right color combinations, etc.?
This acrylic pouring online course will answer your questions!
I have packed everything I know about fluid painting into individual, compact video lessons.
Unlike on YouTube, I comment on every single step, why I do what and when, so that you can create beautiful pictures yourself.
You can expect in this Acrylic pouring online course:
👉🏼 38 short basic lessons
+ course updates (e.g. Hairdryer painting with cell guarantee)
👉🏼 New long-term tested color recipes.
👉🏼 New readily available materials.
👉🏼 New techniques that you can implement immediately.
👉🏼 Lots of little tricks and tips to make every picture a success.
👉🏼 Proven methods with which you will always achieve recurring results.
+ all new content that I add to the pouring course later will be free for you!
HERE YOU CAN WATCH THE LESSON “PREPARING THE CANVASES” IN ADVANCE TO GET AN IMPRESSION OF THE COURSE CONTENT.
HERE YOU CAN WATCH THE LESSON “PREPARING THE CANVASES” IN ADVANCE TO GET AN IMPRESSION OF THE COURSE CONTENT.
If the video here on the website is jerky or the picture quality is not as good, this is unfortunately due to the compression required for the website. This will not affect the videos in the course later.
FULL TRANSPARENCY
As colors I use four manufacturers, if you have “one” of the four manufacturers at your disposal, it is enough to follow the course.
You don’t have to use all four manufacturers!
I use the colors of:
👉🏼 Royal Talens Amsterdam Acrylics
👉🏼 Winsor and Newton Acrylics
👉🏼 Liquitex Basics Acrylics
👉🏼 Pebeo Studio Acrylics
Course software and payment:
To ensure that the course is secure and available at all times, I work together with the company ablefy (formerly Elopage), where the course is stored.
If you want to buy a course access, the payment does not go directly to me.
Here I use the payment provider of ablefy, Namotto GmbH, both are based in Berlin/Germany and process the payments GDPR compliant and according to the highest security standards.
WHO IS THIS POURING COURSE SUITABLE FOR?
👉🏼 For all those who want to learn acrylic pouring without prior knowledge.
👉🏼 For beginners in this beautiful hobby as well as experienced artists.
No, you buy access to the pouring course once and can use it as often as you like. All at your own pace. It is a separate video area that is password protected.
There’s no need to cancel anything; you pay once for access to the learning content and can view it whenever you want. + Anything I add to the course later, such as new ideas or techniques, is included in the price (no matter what the course costs later, you’ll receive all the content at the current price – it won’t cost you more after purchase, you’ll just get more content).
If you click on the “Buy now” button, you will be taken to the selection of payment options, such as Paypal etc..
The payment is not sent directly to me, but to the payment provider of elopage, Namotto GmbH, which handles the payment processing for me.
No, the course can be accessed at any time and from anywhere on the Internet. After the purchase you can create your own password and together with your e-mail address you can then log in to the login page and watch the videos as often as you like.
These modules await you in the Pouring course

Module 1: Preparation and Materials (Click here for more)
Acrylic pouring can quickly become a passion. Many people simply want to paint a few pictures and then become enthralled by this beautiful art. It’s important to know the basics from the beginning.
In this module, I’ll show you how to optimally prepare your workspace and what you should consider before starting.
—
Lesson 1 – The basic equipment – you should have these things ready before you start acrylic pouring.
Lesson 2 – The workspace – good preparation saves a lot of trouble later.
Lesson 3 – Build a pouring box – use it to paint your pictures in an evening dress.
Lesson 4 – It’s that easy to build a turntable – it’s quick and you don’t need any tools.

Module 2: Working with contrasting colors
If you’re ready to get started but don’t know which colors go together, this module is for you.
—
Lesson 1 – Not sure which colors to use? – With this tip, any color combination will be eye-catching.
Lesson 2 – Combine two key contrasting colors for even better results.

Module 3: Diluting paints with pouring medium
A paint recipe alone isn’t enough to get started with pouring. That’s why I’ve divided my standard paint recipe into four steps.
Lesson 1 – Calculating the amount – so you’ll never use too much or too little paint again.
Lesson 2 – My color recipe is the basis for beautiful images – images that work time and time again!
Lesson 3 – The comparison – Here I’ll show you why it’s so important to let your colors “rest.”
Lesson 4 – the drying trick – with this simple trick, your pictures will dry 2 days faster.

Module 4: Example techniques with casting medium to get started right away
In this module, I’ll explain nine simple techniques step by step so you can immediately implement what you’ve learned so far.
—
Lesson 1 – The Fusion Method
Lesson 2 – The Leftover Pouring
Lesson 3 – The Flip-Dip Method
Lesson 4 – The Infinity Technique
Lesson 5 – Snake Technique
Lesson 6 – The Color Stripes Method
Lesson 7 – The Swirl Technique
Lesson 8 – Pollock Style
Lesson 9 – The Wandering Cup

Module 5: Dilute acrylic paints only with water
In this module, I’ll show you how to dilute your paints with just water. This isn’t just about the actual paint recipe and calculating the right quantities.
Combining two ink manufacturers creates beautiful little cells without silicone oil or other additives.
—
Lesson 1 – Preparation – you should have these materials ready.
Lesson 2 – Calculate the correct amount of ink you need for an image.
Lesson 3 – The Color Recipe – with the right color recipe, you lay the foundation for successful images.
Lesson 4 – Mixing Colors Correctly – Avoid distracting effects in your image by mixing colors correctly.

Module 6 - Paints diluted with water only - Example techniques
In Module 5, I showed you how to mix your paints with just water and what else you should pay attention to.
In this module, I’ll show you some step-by-step example techniques that you can implement immediately.
—
Lesson 1 – Multi-cup on a round acrylic plate
Lesson 2 – Multi-cup technique with a turntable – the star effect
Lesson 3 – The floating cup – A technique that creates beautiful cells.
Lesson 4 – Dipping the Canvas – If everything is prepared, this technique is the fastest way to paint a picture.
Lesson 5 – Painting a Geode – It’s so easy to paint your own geode with liquid paints.
Lesson 6 – Painting with a Hairdryer – I’ll show you two ways to create fascinating images.

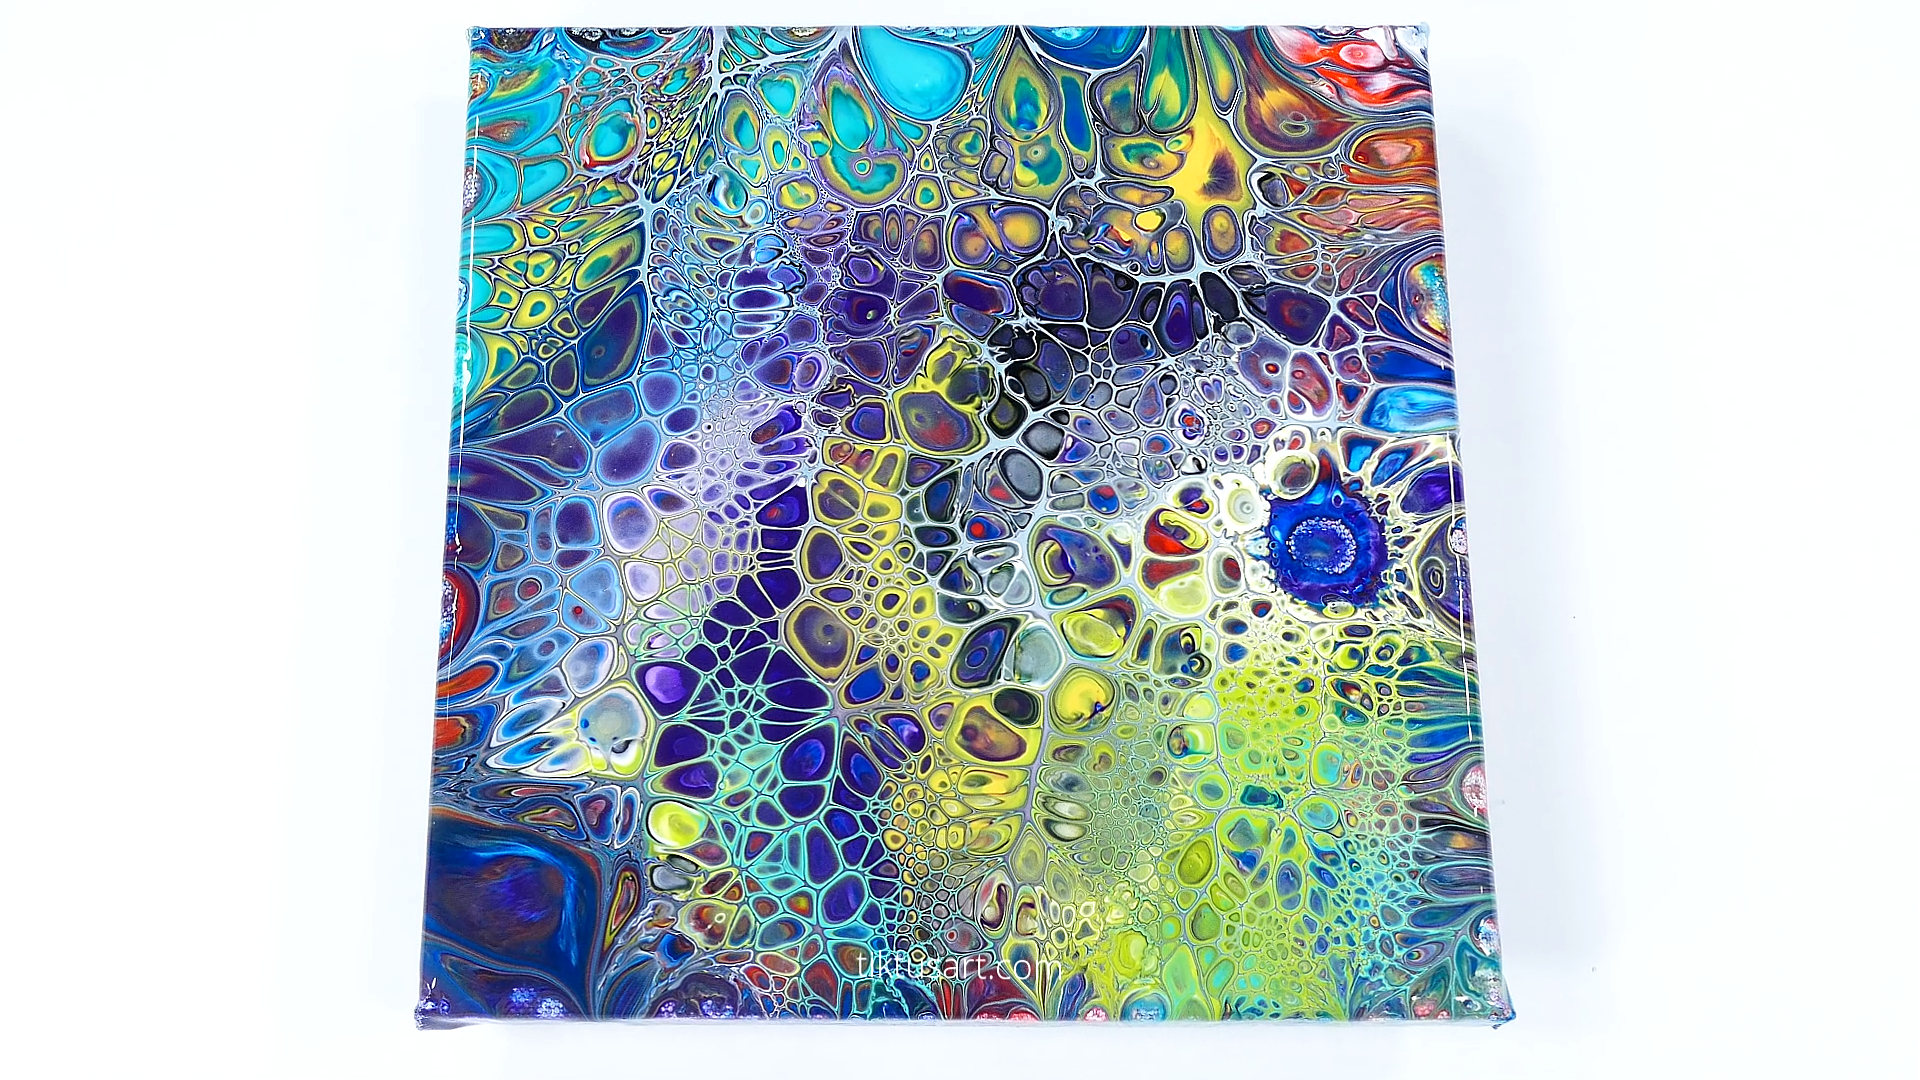
Module 7: Creating cells with silicone oil
Cells are the small or large “bubbles” in poured images that create beautiful optical effects.
In this module, I’ll show you different ways to create cells with silicone oil.
—
Lesson 1 – Randomly scattered or somewhat ordered cells, this is how it works!
Lesson 2 – You can also use just a few I’ll show you how to create cells in this lesson.
Lesson 3 – In this lesson, I’ll show you how to quickly add lots of small cells to your image.
Lesson 4 – Acrylic paints diluted with just water + silicone oil – this combination creates unique cells.
—
There’s even more inspiration for cells in the course updates in Module 9, and a major update on how to create cells without silicone oil is coming soon. I’m still testing this, though, so stay tuned!

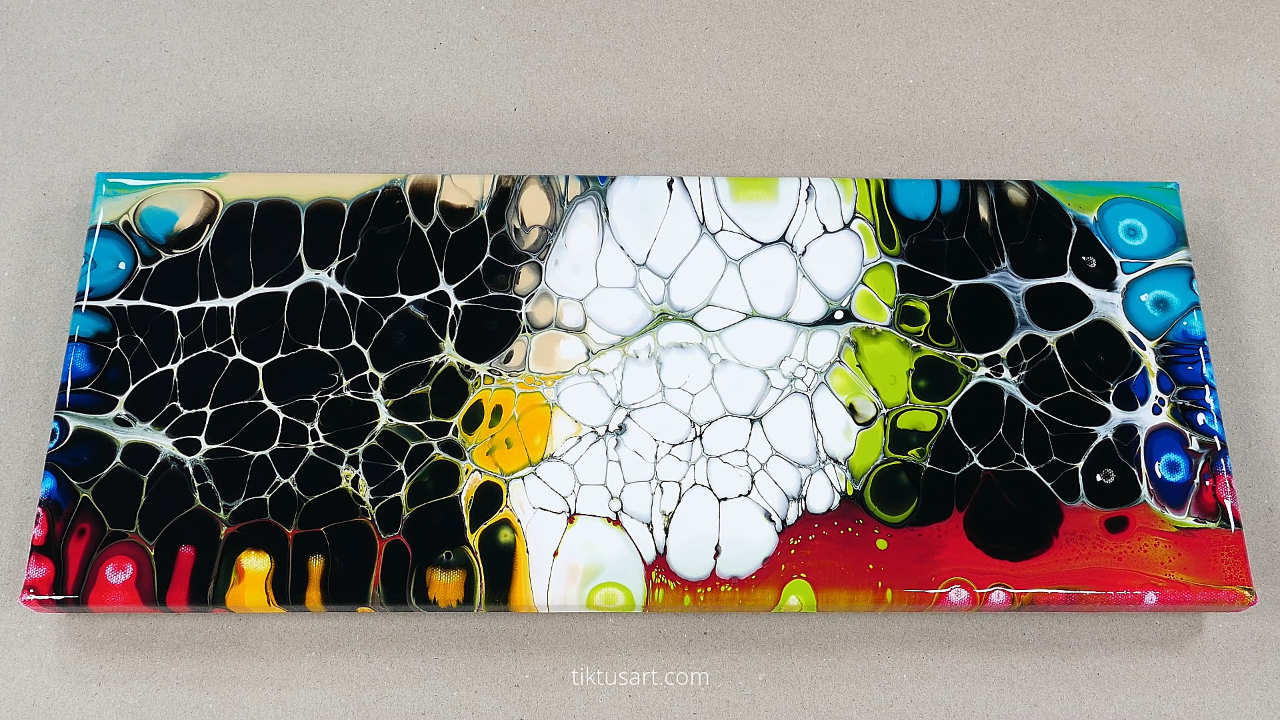
Module 8: Sealing the Images
Unfortunately, once acrylic paints have dried, they often lose the beautiful shine they had when wet. To restore this shine, you can seal your artwork with epoxy resin, among other things.
There are a few things to keep in mind, though. In this module, I’ll show you step by step how I do it myself.
—
Lesson 1 – Sealing pictures with transparent spray varnish.
Lesson 2 – Sealing pictures with epoxy resin – Part 1 – Gathering materials and preparing the canvas.
Lesson 3 – Sealing Pictures with Epoxy Resin – Part 2 – Mixing the Epoxy Resin.
Lesson 4 – Sealing Pictures with Epoxy Resin – Part 3 – Sealing the Canvas.
Lesson 5 – Sealing Pictures with Epoxy Resin – Part 4 – Cleaning and sealing pictures created with silicone oil with epoxy resin.

Module 9 - NEW in the course
Acrylic pouring inspires many artists around the world, simply because it allows you to create impressive works of art even without prior knowledge or painting training.
New ideas are constantly being discovered. New color combinations that lead to new effects or new pouring additives that allow you to create entirely new images.
That’s why I regularly add new content to the course, which you’ll find in this module. So it’s worth checking back occasionally to see if there’s anything new that could enrich your pouring career.
—
Update 1: In this update I will explain to you how to create such beautiful mesh cells with silicone oil.

Update 2: I will explain to you how to create multi-colored cells with silicone oil in this update.
Update 3: In this big update, I explain the popular Dutch pour technique, with new colors and a new color recipe to get guaranteed cells. All you need is water + color and a hairdryer.


Preview video for update no. 3
You are currently viewing a placeholder content from Vimeo. To access the actual content, click the button below. Please note that doing so will share data with third-party providers.
“Tiktus is a great teacher, he knows how to break down something as complex as acrylic pouring in a way that is easy for me to understand and follow. I also really like the new updates that are added without me having to pay anything extra.”
I just finished binge watching your acrylic pouring course over the past couple of days. Totally worth it! I looked online at a number of different courses and took a chance on yours. I’m so glad I did. I became enraptured with acrylic pour about a month ago as it didn’t require that I had traditional painting skills. I found some deeply discounted, pouring paints on sale, bought them, took the plunge and produced a reasonably decent piece that hooked me. But then I went down a rabbit hole. As you know, there’s a ton of information on You Tube and everyone has their opinion on what paint to use, how to mix it, water or pouring medium, etc. It was overwhelming. On one piece my paints would be too thin, on another too thick. On another too thick AND too thin. I knew I need a teacher with a single approach that I could use to help me create consistent pieces and decided to look at your course after watching one of your You Tube videos. Your course absolutely nailed not only the basics, but offered some tips and tricks that will save me money on wasted paint and supplies for years to come. Thank you, thank you, thank you!
All the best, Gretchen M. USA “
“I’ve been following you on YouTube for over a year and have tried many of your techniques, but my colors were always way too diluted. Thanks to this course, I finally know how to do it properly. Thank you so much!”
“At last!!! I’ve been waiting for this course for so long. Nice and entertaining, no hours of explanations, simply TOP.”
“Good evening Tiktus. You’re a great teacher. I’m a bit older and was worried that I might not be able to keep up. But far from it, it’s very calming and relaxing to listen to you and I’ve already learned more in the first few lessons than I have in the last few months on various websites.”
You need to load content from reCAPTCHA to submit the form. Please note that doing so will share data with third-party providers.
More Information